Tuesday,29-December-2020
And yet another PS2 SLIM in repair..
EN That article will be dedicated to PS2 laser module repair. Well, repair no but replacement.
If you`re here reading this, maybe you get the same “Disc error” , or “No disc” on your play station 2? Yep, same here. My initial intend was to adjust a bit the variable resistor and give it some new “life” extend but unfortunately it didn`t went as planed.
The problem lie in that part:

But what about it? That is the laser unit that read both DVD and CD`s data. And how to get there, you`ll ask? Maybe with just a bit of patience.
First , the rear side contain some screws that must be removed:

There will be one under void warranty sticker. For that reason find all places what I marked in red. That done, you need to get just a pinch of “brute force” and open it in two:

on that image as you can see all base parts, but also two contact switches. That one with tape above it, is to give signal if the console is open as you see it and prevent the DVD/CD drive of running. The second one, close to the ON/OFF button is for the disc door. First one you can tape in ON position, the second to keep with fingers.
CAUTION!!! driving the unit to spin the disk with open case can cause harm on you if the disc manage to fly out!
Now is the time to take the cartridge out. To do that, remove the four “shiny” screws, then , pull the marked cables (really gently) out of their sockets:

Ready with it, then slide the cartridge on the arrow direction as that:

The purpose of it is to be easy to rotate the chassis the other way around:

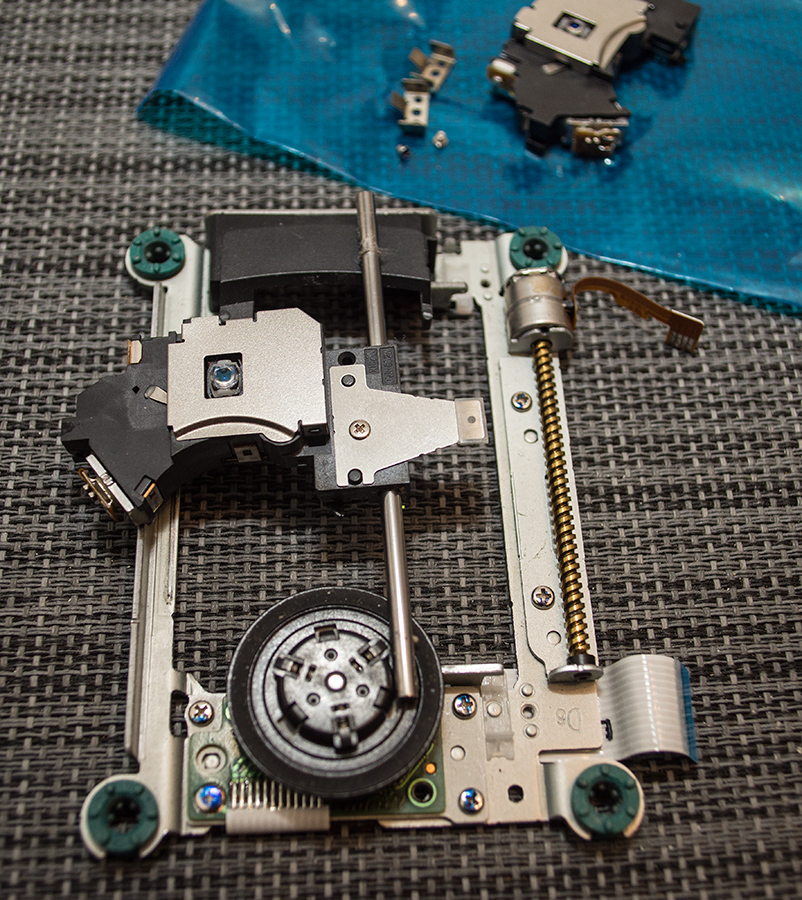
Now we get to the picture:

The left is for the CD and it is about 820-850ohm , and right is for the DVD : 1020-980ohms
If you wish to try , on clockwise direction you can adjust it to 700-680ohms and give it a try.
In my case, I went even to 650 and below. I can see the red dot come, and try to focus but still too weak. And the solution was - new unit. Remove the ribbon cable from under the board, then the micro bracket:

and just take it out:
Kind that`s it to replace with the new one.
And here is the next tip. You can replace it and still it did not work. Why? Probably as in my case there was no info about the anti-static solder point.
In short : remove (desolder) that point:

On the left side you see the original one with the spot removed, on the right the new one, with one on it.
Refit in reverse order.
Good luck!
Add comment
Fill out the form below to add your own comments